Groups: Managing a Group
Managing a group in ErgZone involves tailoring your space (logo, description, features), setting up how others find and join you, distributing admin access, and archiving old groups when they’re complete. This article walks you through each step in the Web Admin.
Note: If you haven’t created a group yet, please see:
For 1:1 coaching, we recommend one group per athlete.
Update Group Info
From Web Admin, go to Groups › [Your Group] › Details. Here’s what you can edit:

Available Fields
Name
Enter the name of your group. This is required. Any change you make is saved automatically.
Logo & Banner
- Logo recommended size: 200×200 px
-
Banner recommended size: 600×200 px
Upload new images here to refresh your brand look.
Descriptions
You now have three different description fields, each serving a specific purpose:
App Description
This text is shown inside the ErgZone app.
- Keep it short and inviting — it’s what users see when browsing or joining a group.
Private Description
- Visible only to group members.
- Great for sharing internal information such as rules, schedules, or expectations.
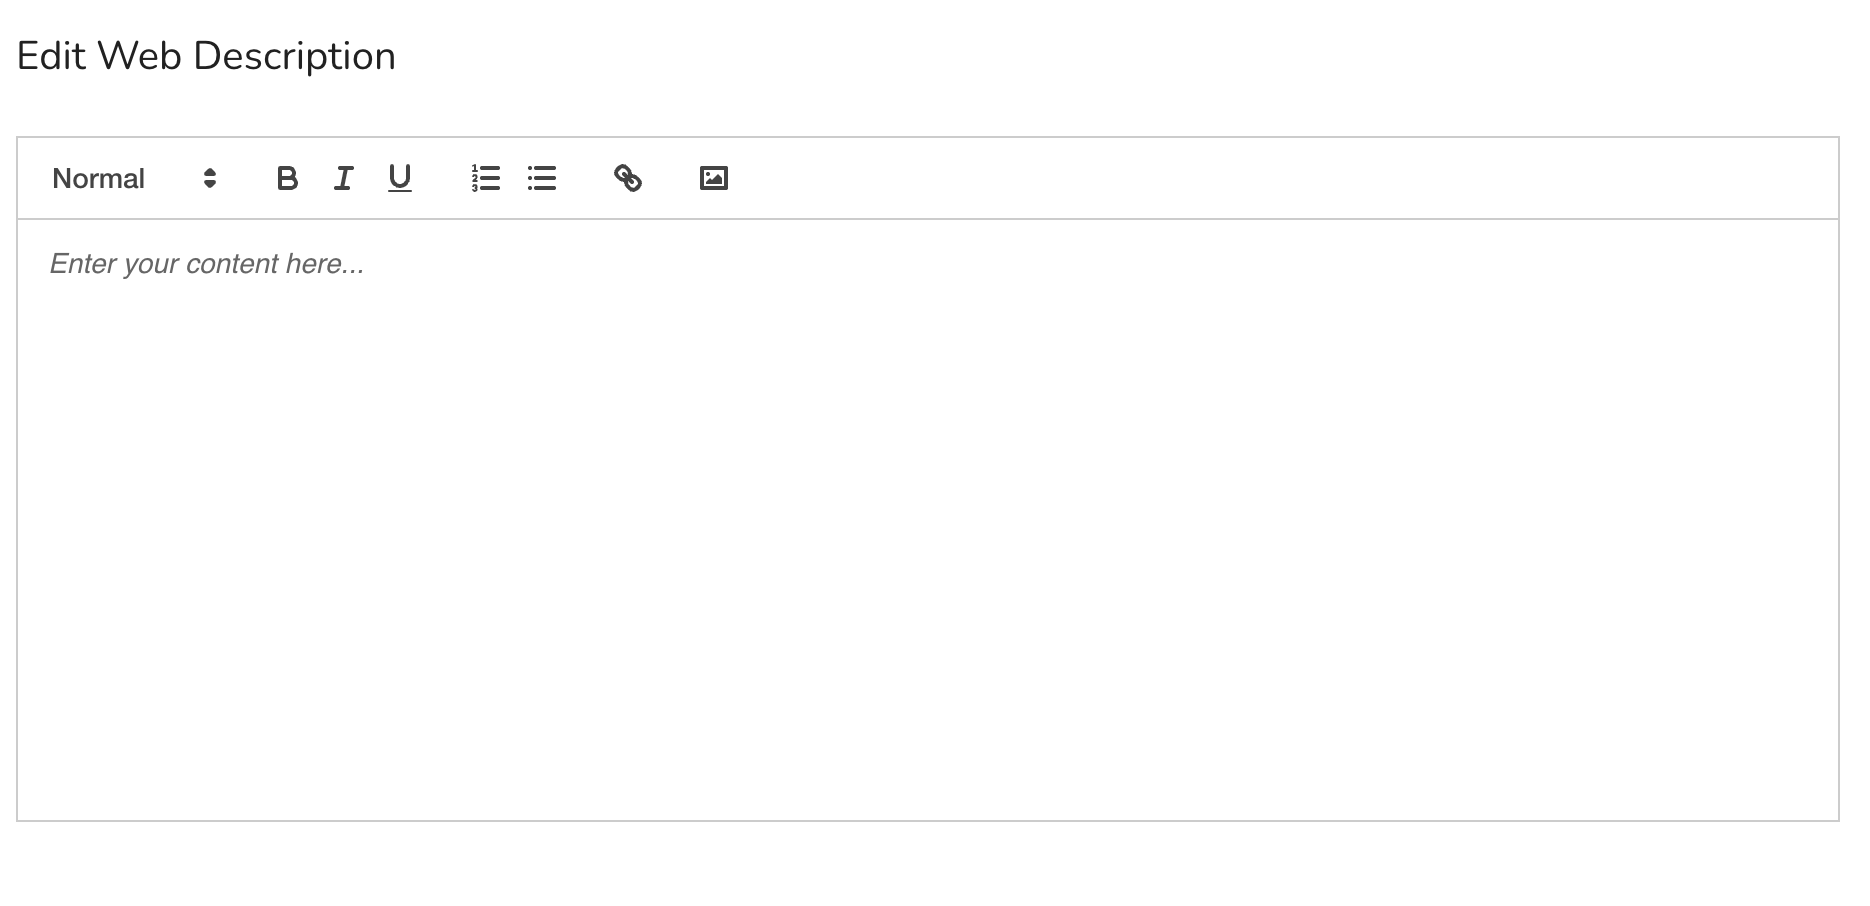
Web Description (Rich Text Editor)
- This is shown on your group’s public page on ErgZone Web.
- You can use Markdown formatting or the toolbar to style your text (bold, italic, headings, lists, links, etc.).
- Perfect for coaches or organizations who want to include richer details, contact info, or links.
Preferences
From the same Details page, you can also manage your group’s key preferences:
- Visible on Search/Discover: show or hide your group in ErgZone’s app search results.
- Requires Approval to Join: toggle if admins must approve new members.
- Workout Stats: when enabled display performance stats on the group’s leaderboard.
- Public Link: copy and share your permanent join link.
- Temporary Link: generates a short-term invite link (valid for 7 days).
- Available Modes/Features: enable or disable workout types (Row, Ski, Bike, Fit, Multi, Video, Audio, Library, Manual, Race).
- Name Display: choose how names appear on leaderboards (First Last or Last First).
Manage Members
Group admins can accept or reject requests to join the group on the ErgZone app or the ErgZone Web Admin.
Visit Approve/Reject Requests to learn how it works.
Manage Admins
A group admin is a group member who is authorized to manage workouts, members, and other aspects of the group. Group owners can add or remove group admins.
Visit Groups: Manage Admins to learn how it works.
Archive a Group (Track)
Past competitions, groups, communities, or training plans that are no longer active can be archived.
This option will remove the track from the primary menu on the Web Admin, while the content can still be accessed.

To Archive a track:
- On the Details tab
- Scroll down to the Actions section
- Click the "Archive button.

To Uncharvie a track:
- On the Web Admin Menu
- Click to expand the "Archived" option
- Select the track you want to unarchive
- Click on the "Details" tab
-
Click on the "Unarchive" button


Support and Resources
Need help managing your group or descriptions?
Contact our team at support@erg.zone.