
Groups: Workout Results Page
Group admins can view a list of workout results and customize how the data is displayed to fit their needs.
How to View Workout Results
- Visit ErgZone Web Admin and sign in
- Select your group from the menu.
- Click the "Workouts" tab
-
Select a workout to display its results list.


Reordering the data
You can sort the list in ascending or descending order by Name, Date, Time, Distance, or Pace. Click any of these column headers to reorder the table.

Customizing Metrics
Click the Change Metrics button to add, remove, or reorder the data columns.
Note: Name, Date, Time, and Distance are default columns that cannot be removed

Displaying Intervals
Enable the Expand all toggle to view detailed interval information for each resul

Viewing Results by Splits
On the Workout Results page, Group admins can choose to view results broken down by splits. When enabled, the table displays an additional column for each split or interval in the workout, making it easier to analyze athlete pacing and performance across segments.
Available Split Column Types
You can choose one of the following split formats:
-
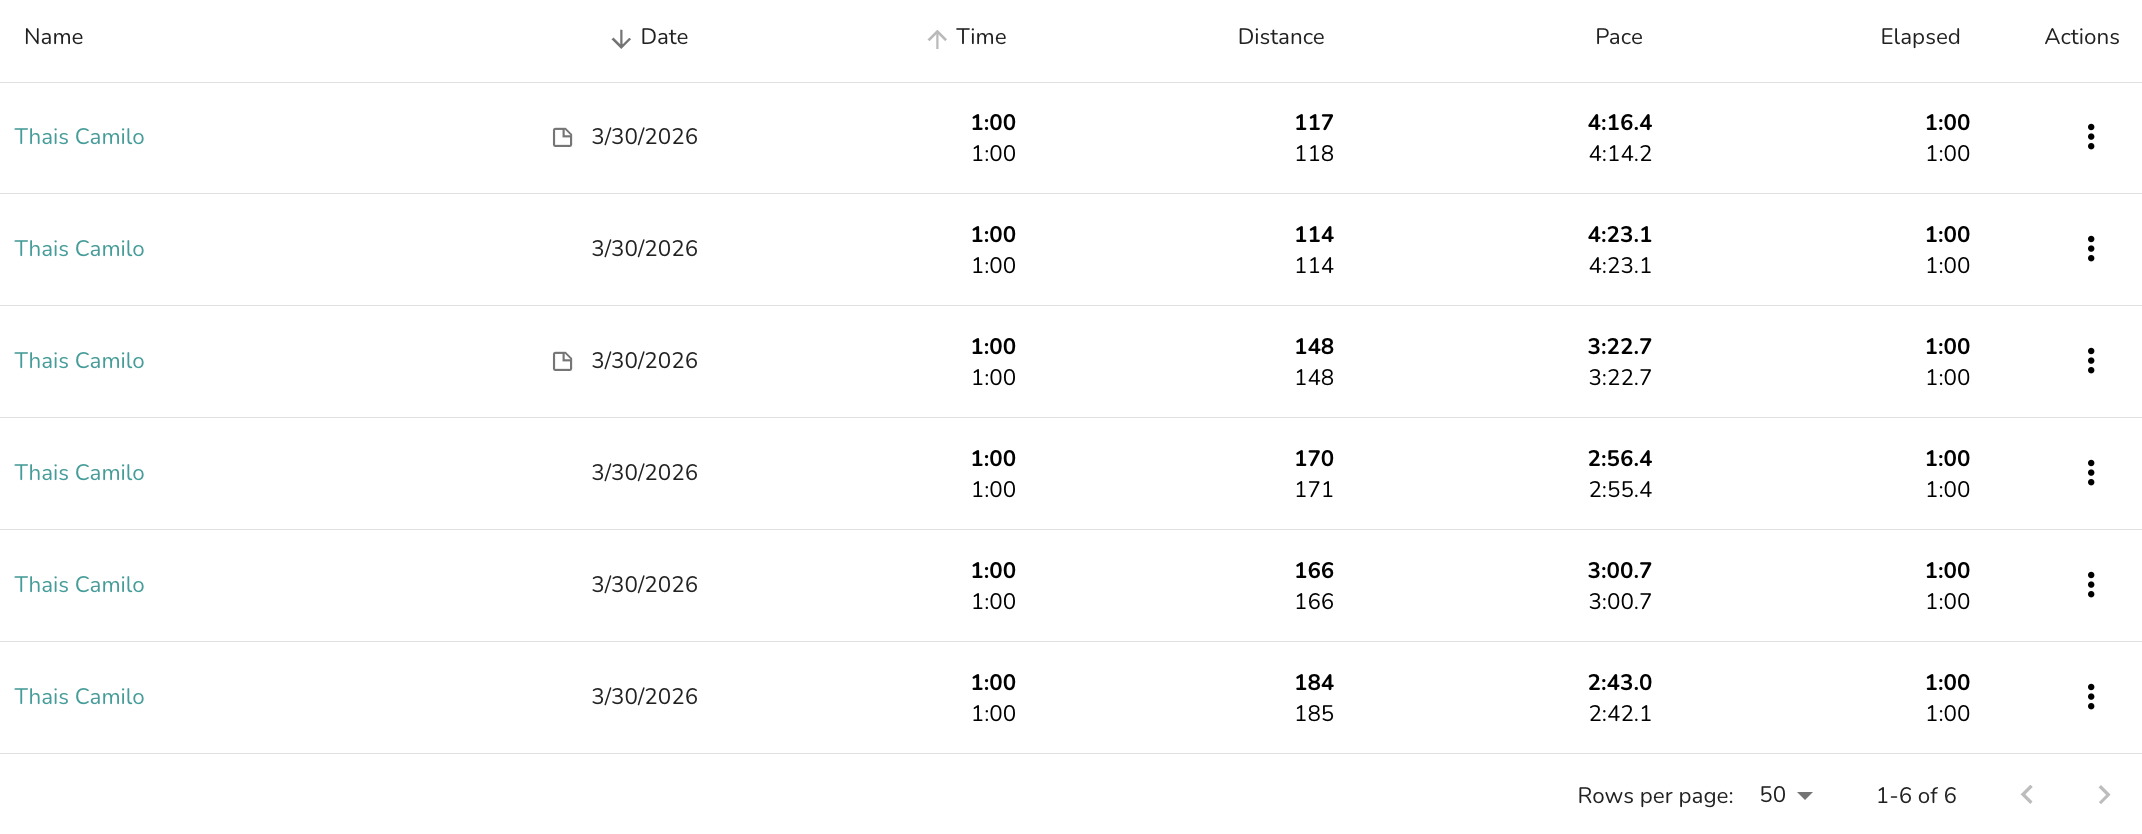
Expanded: Lists all individual intervals for the workout across the table.
-
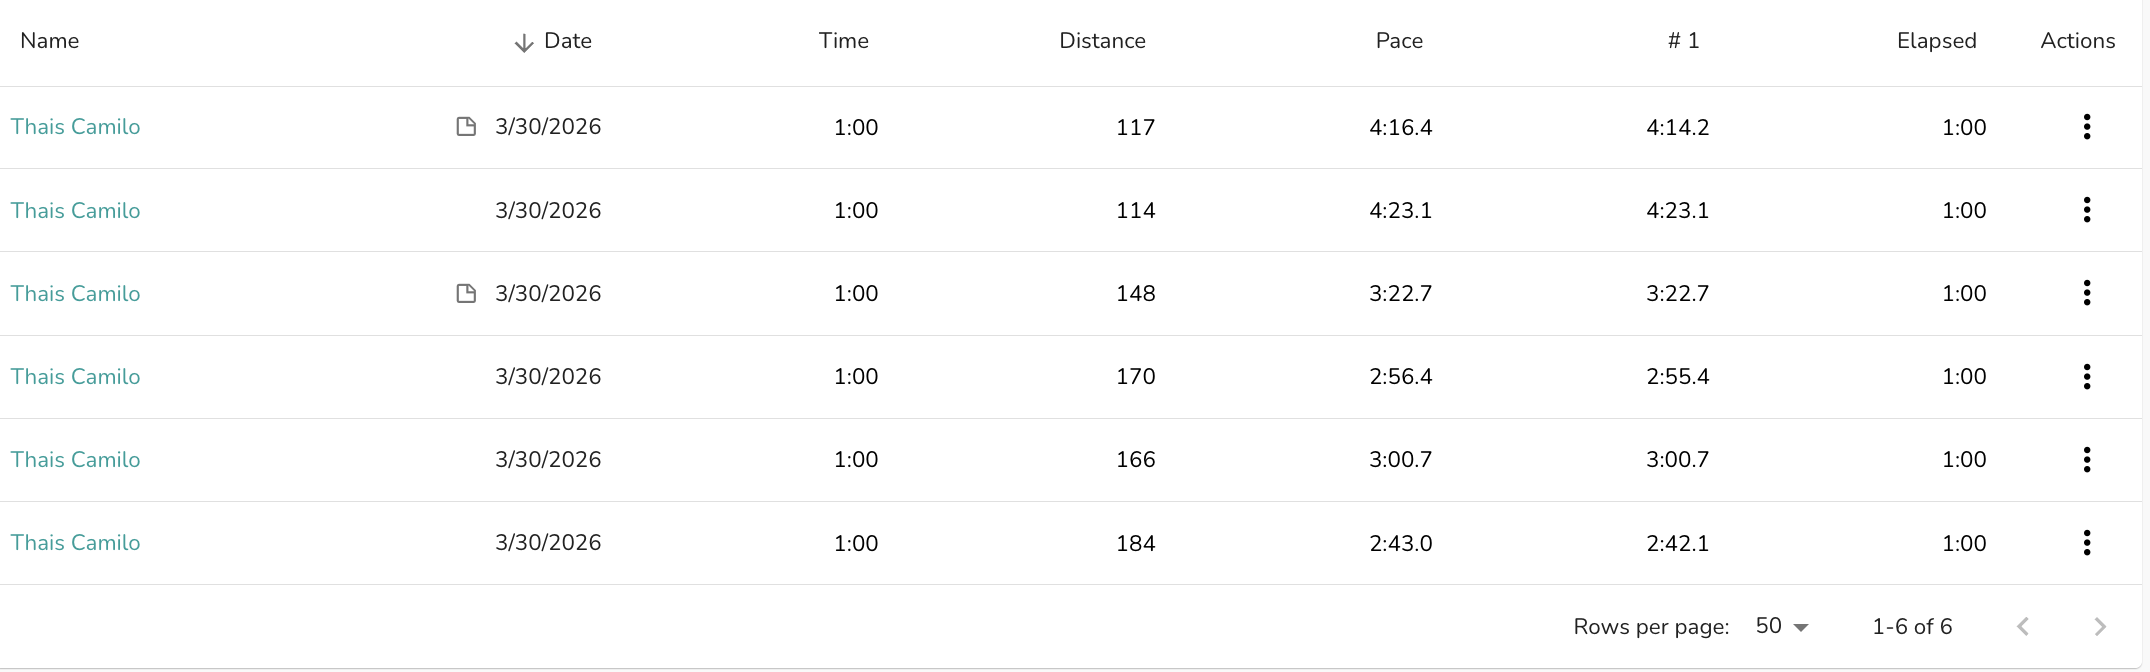
Pace: Displays the pace for each split or interval.
-
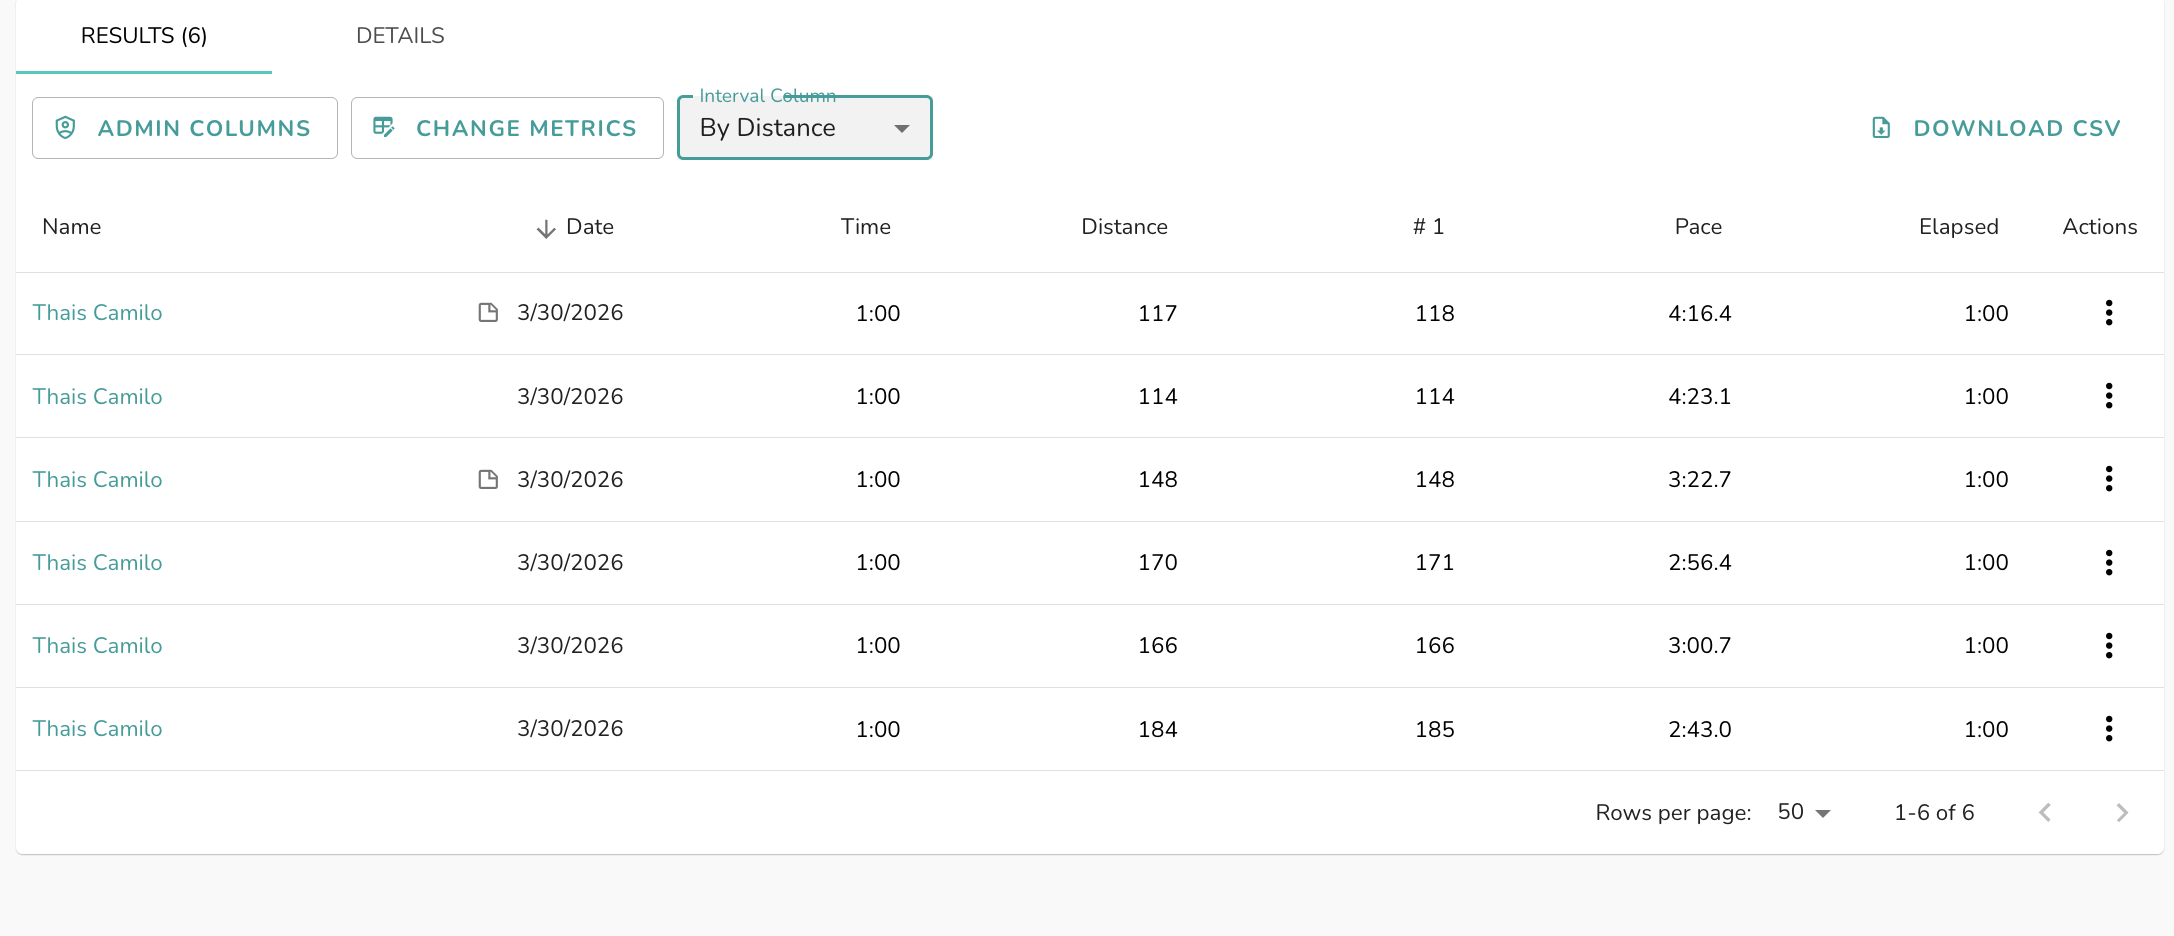
Distance: Displays the distance completed in each split.
-
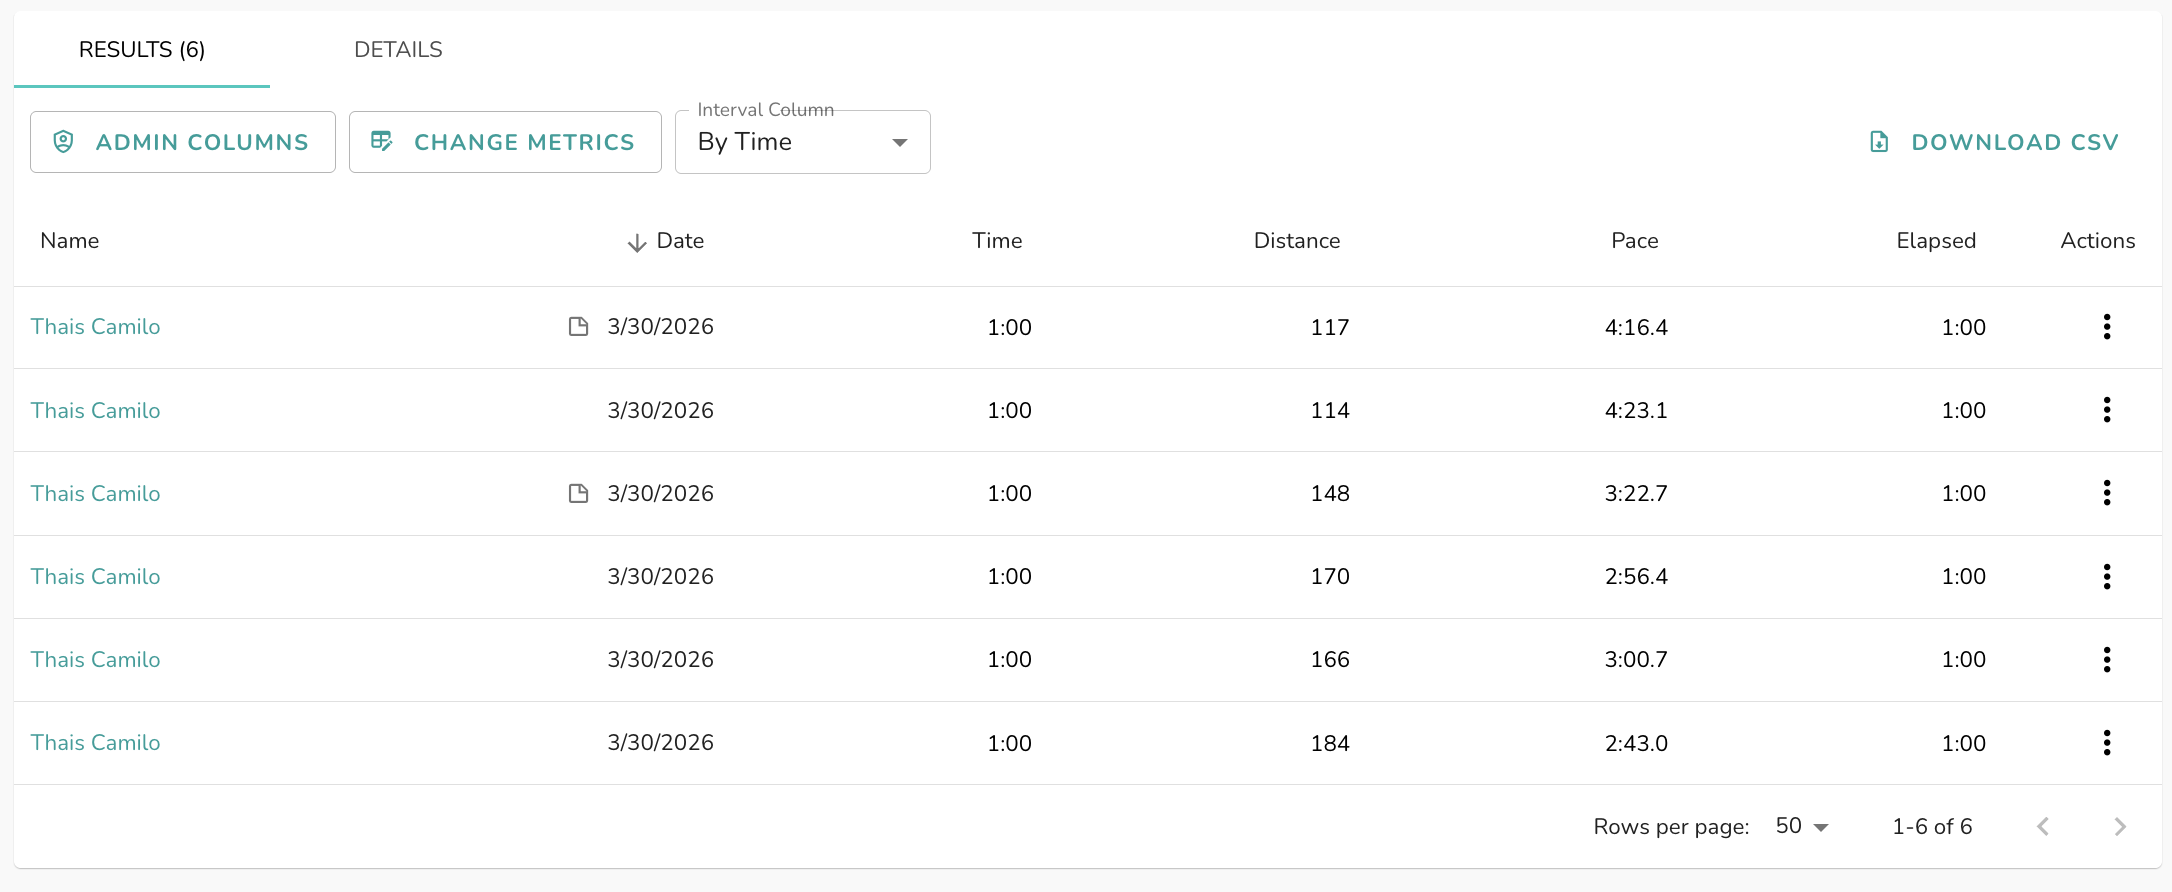
Time: Displays the elapsed time for each split.
These options help Group admins understand how athletes performed throughout the workout—not just in the final result.
Download CSV
Click the Download CSV button to export the current table view as a CSV file.
Tip: To include detailed split data in your CSV export, turn on the Expand all toggle before downloading.

Archiving a Result
Group admins can archive a workout result to hide it from the list without permanently deleting the data.
Note: Archiving is only available for groups that have the Impersonate feature enabled (designed for in-person groups such as studios and group classes).
How to Archive a Result
- Navigate to the Workout Results page for your group.
- Locate the athlete or result you wish to hide.
- Click on the action menu next to the result and select Archive.
Note: Archived results are hidden from standard views and exported files. If you ever need to restore or unarchive a result, please contact support at support@erg.zone
Editing a Result
Directly editing an existing workout result is not possible because raw data comes directly from the ergometer; modifying it would break cascading performance calculations.
Recommended Solution:
- Archive the original result to hide the inaccurate data.
- Add a manual result for the athlete so you can correct the data while preserving their overall history. Detailed instructions are available in .
Adding a Manual Result
Group admins can manually enter workout results for athletes who were unable to log their data directly through an ergometer.
How to Add a Manual Result
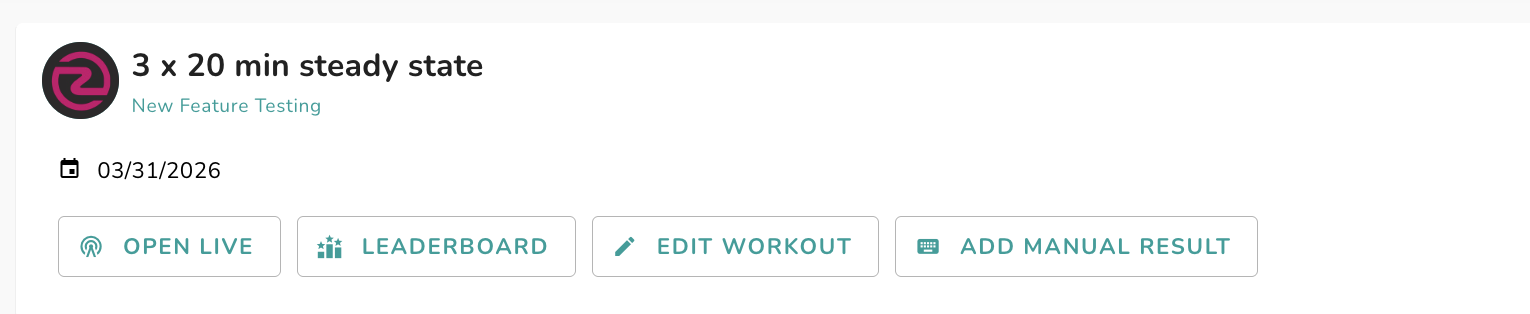
- Go to the Workouts tab for your group.
-
Click the Add Manual Result button.
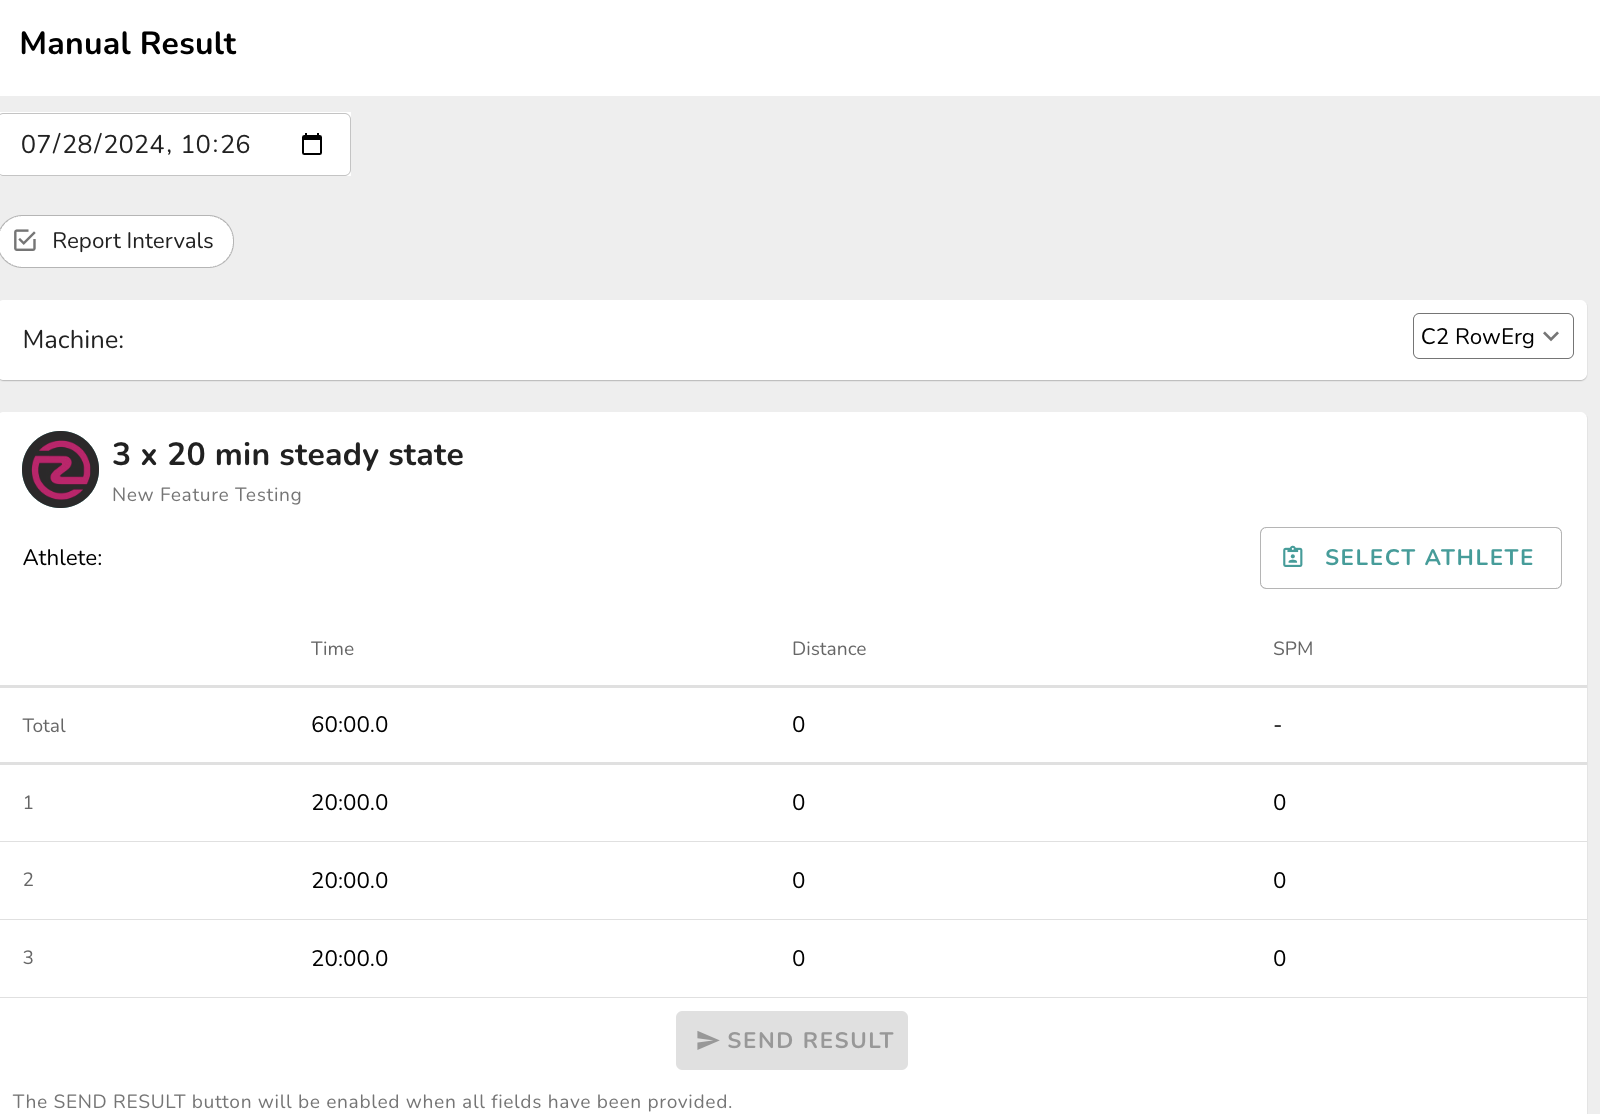
- Select the athlete from the dropdown list.
- Fill in the required details, including date and workout performance data.
- Save the entry to record it in the athlete's history.
Transferring Results Between Athletes
In studios and groups classes where athletes compete using equipment provided by the organization, if the correct athlete isn’t selected on the device before starting the workout, the result will be associated with the wrong athlete.
In these cases, the admin can transfer the result to the correct athlete.
Note: This option is available for in-person (local) groups.
If you need this option but don't see it on the admin, reach out to support@erg.zone and our team will assist you.
To transfer a result:
- Open the Workouts tab.
- Click on the workout containing the result you want to transfer.
- Click More (the two dots icon).
- Select Transfer Result.
- Search for and select the athlete who should receive the result.
- Click Transfer to complete the action.
After the transfer, the result will appear under the selected athlete’s name and be reflected on the leaderboard.


`
Impersonate an Athlete
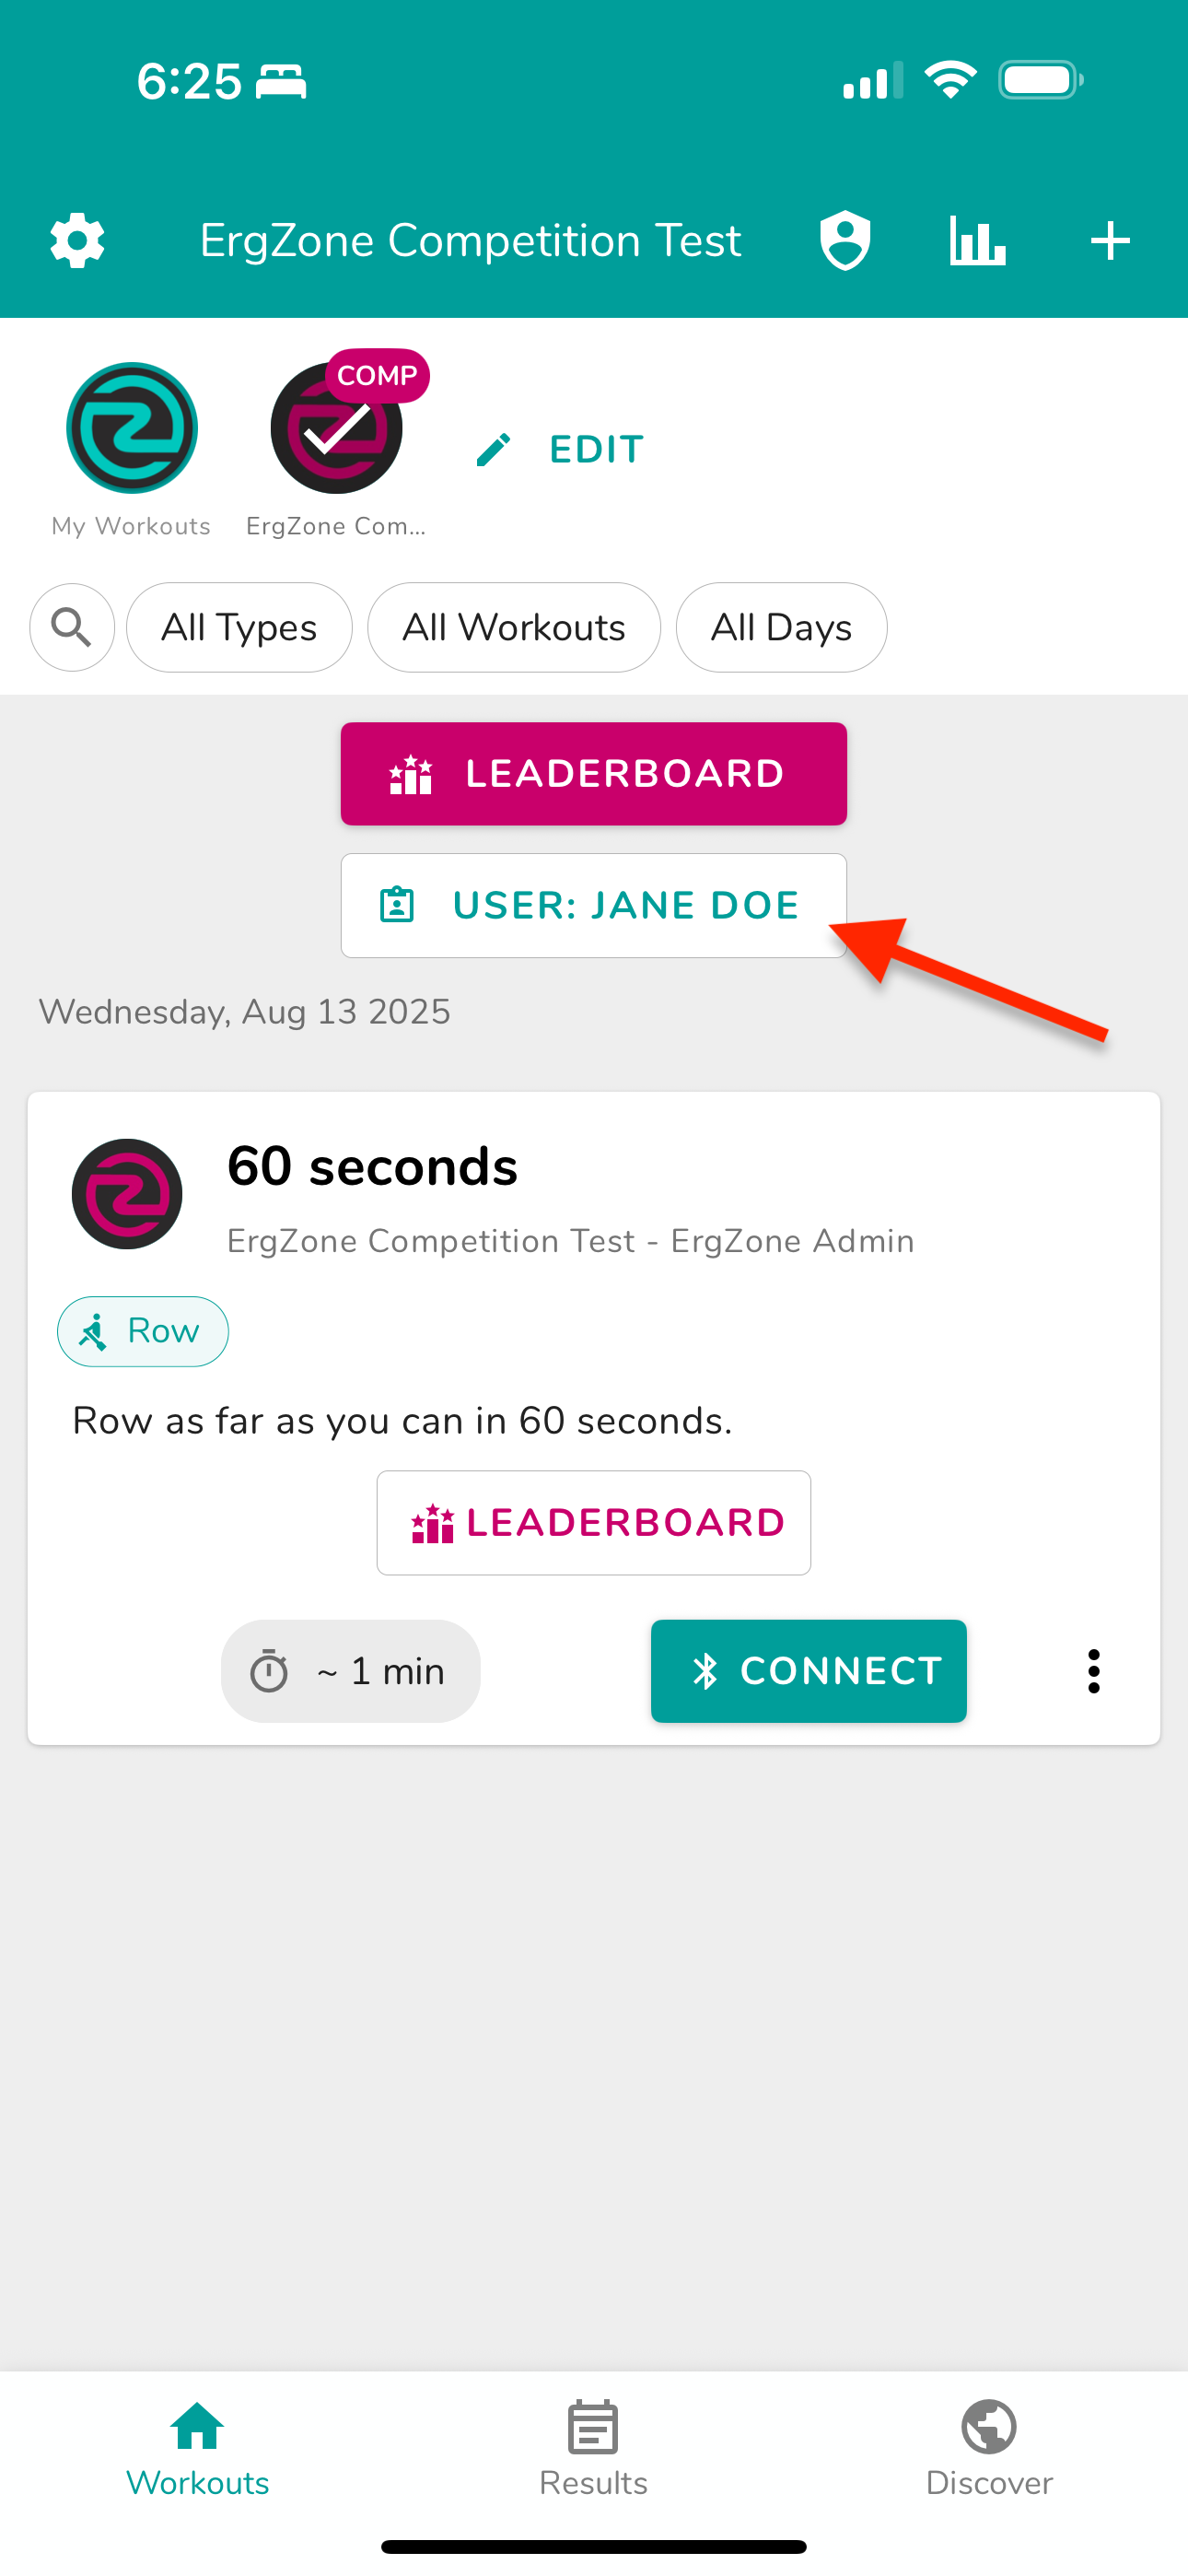
This feature is designed for local groups (such as studios, gyms, or live events) where athletes use shared equipment connected to a studio tablet or phone. Before starting a workout, either a staff member or the athlete selects the correct athlete profile in the ErgZone app. This ensures the ergometer performance data is logged to the correct account.
How to Impersonate an Athlete on the ErgZone App:
-
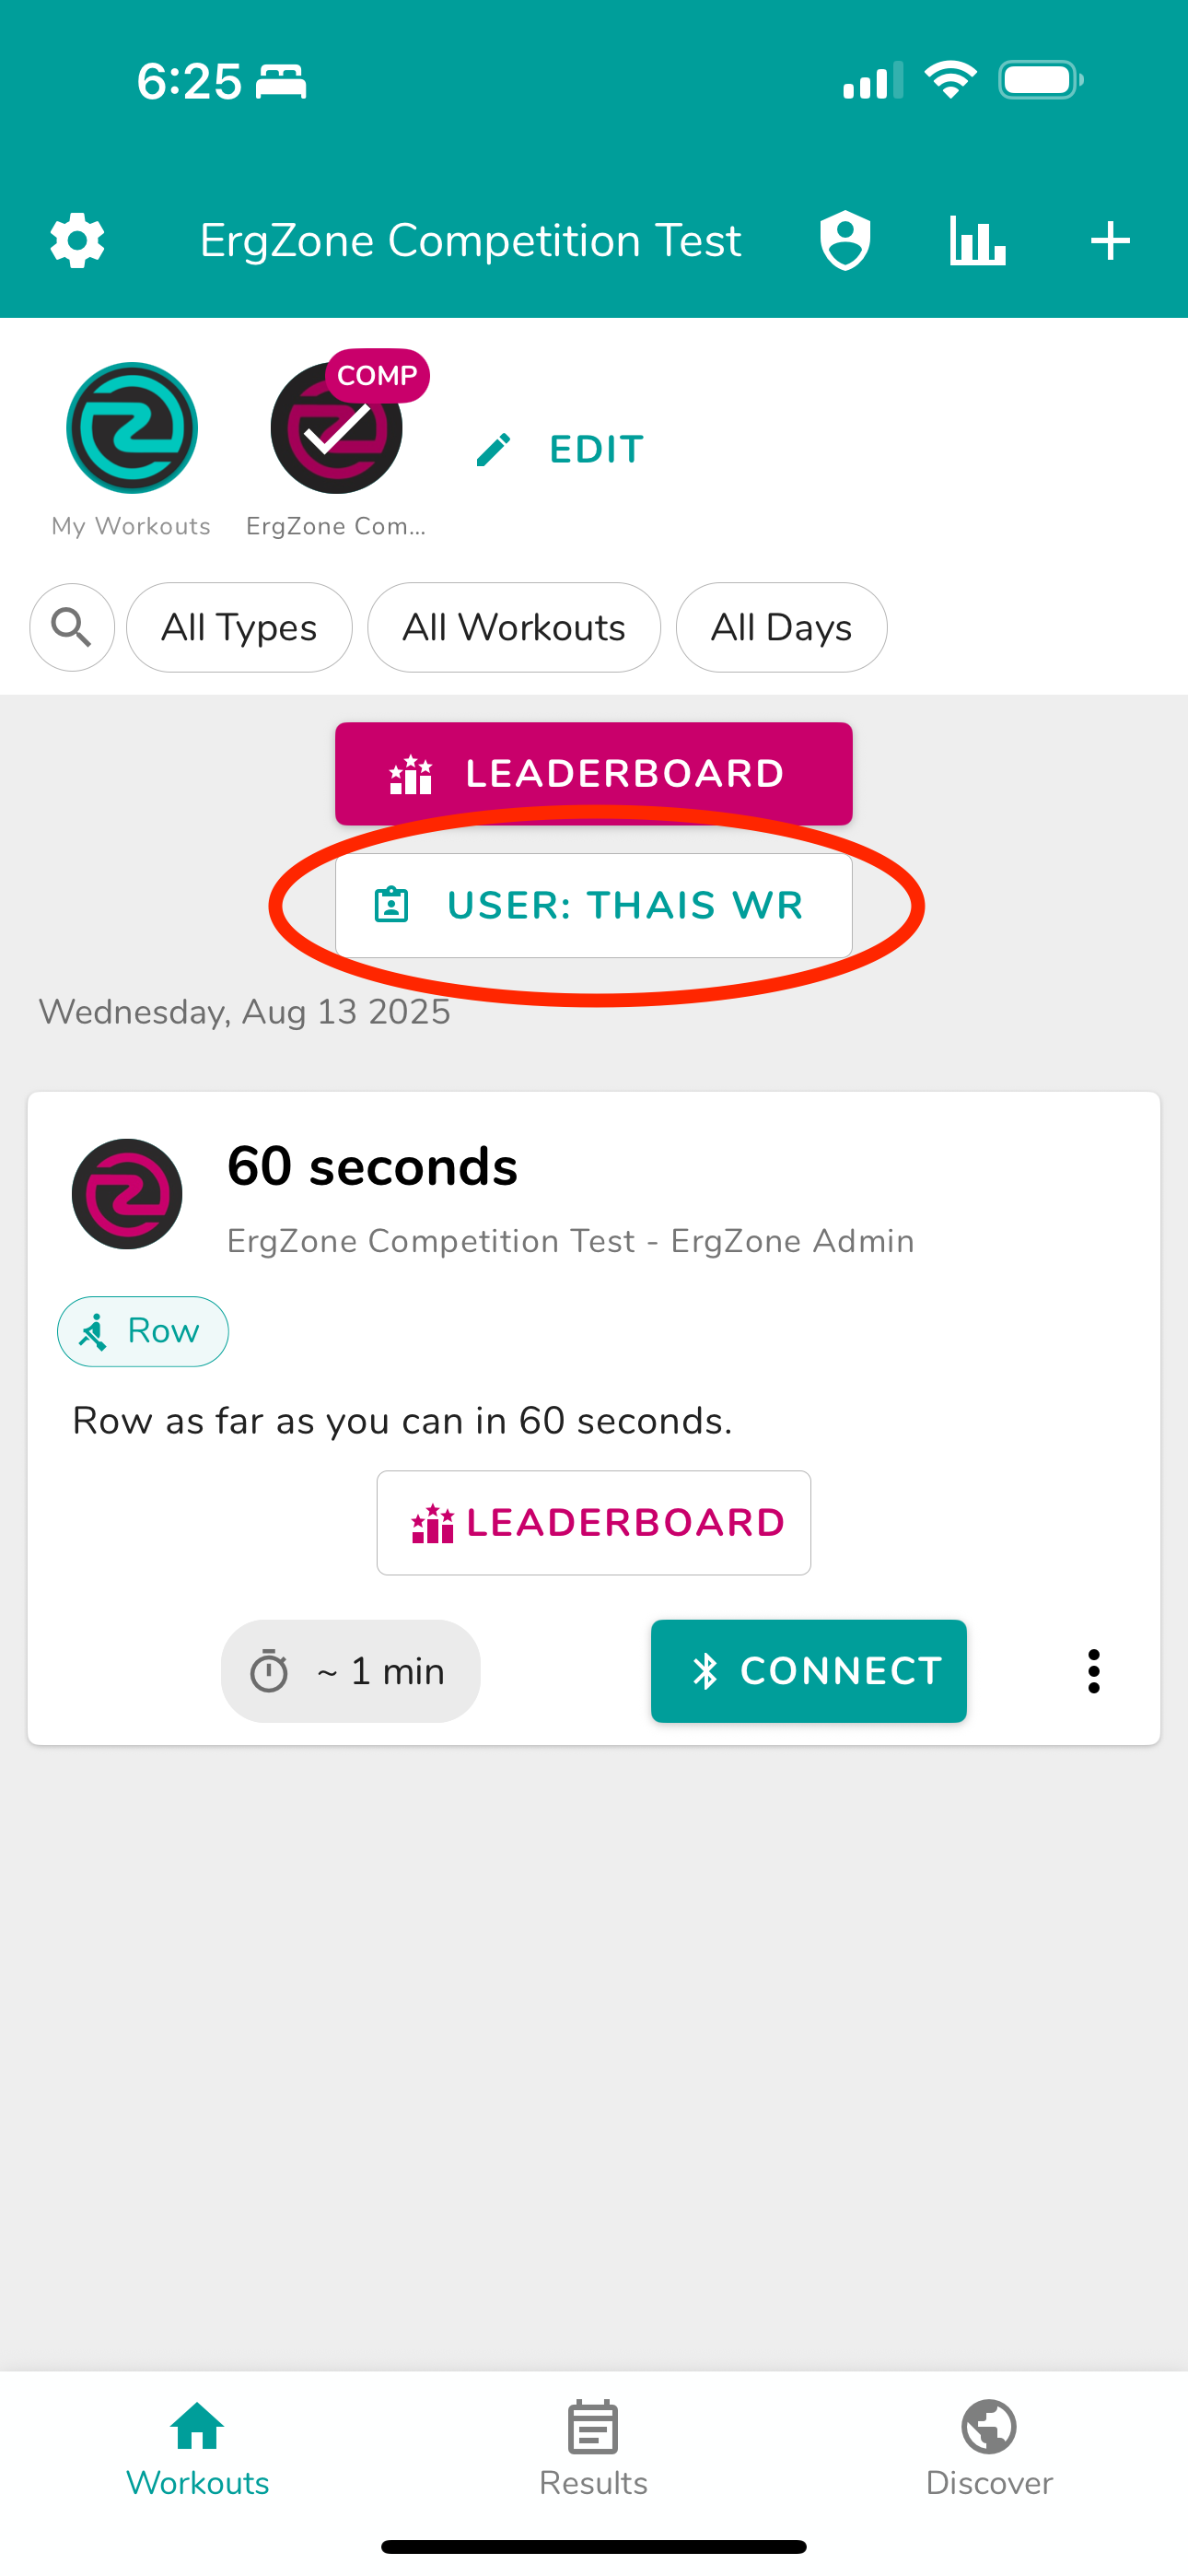
In the group, tap the button that says User: <name> to open the Athlete List.
-
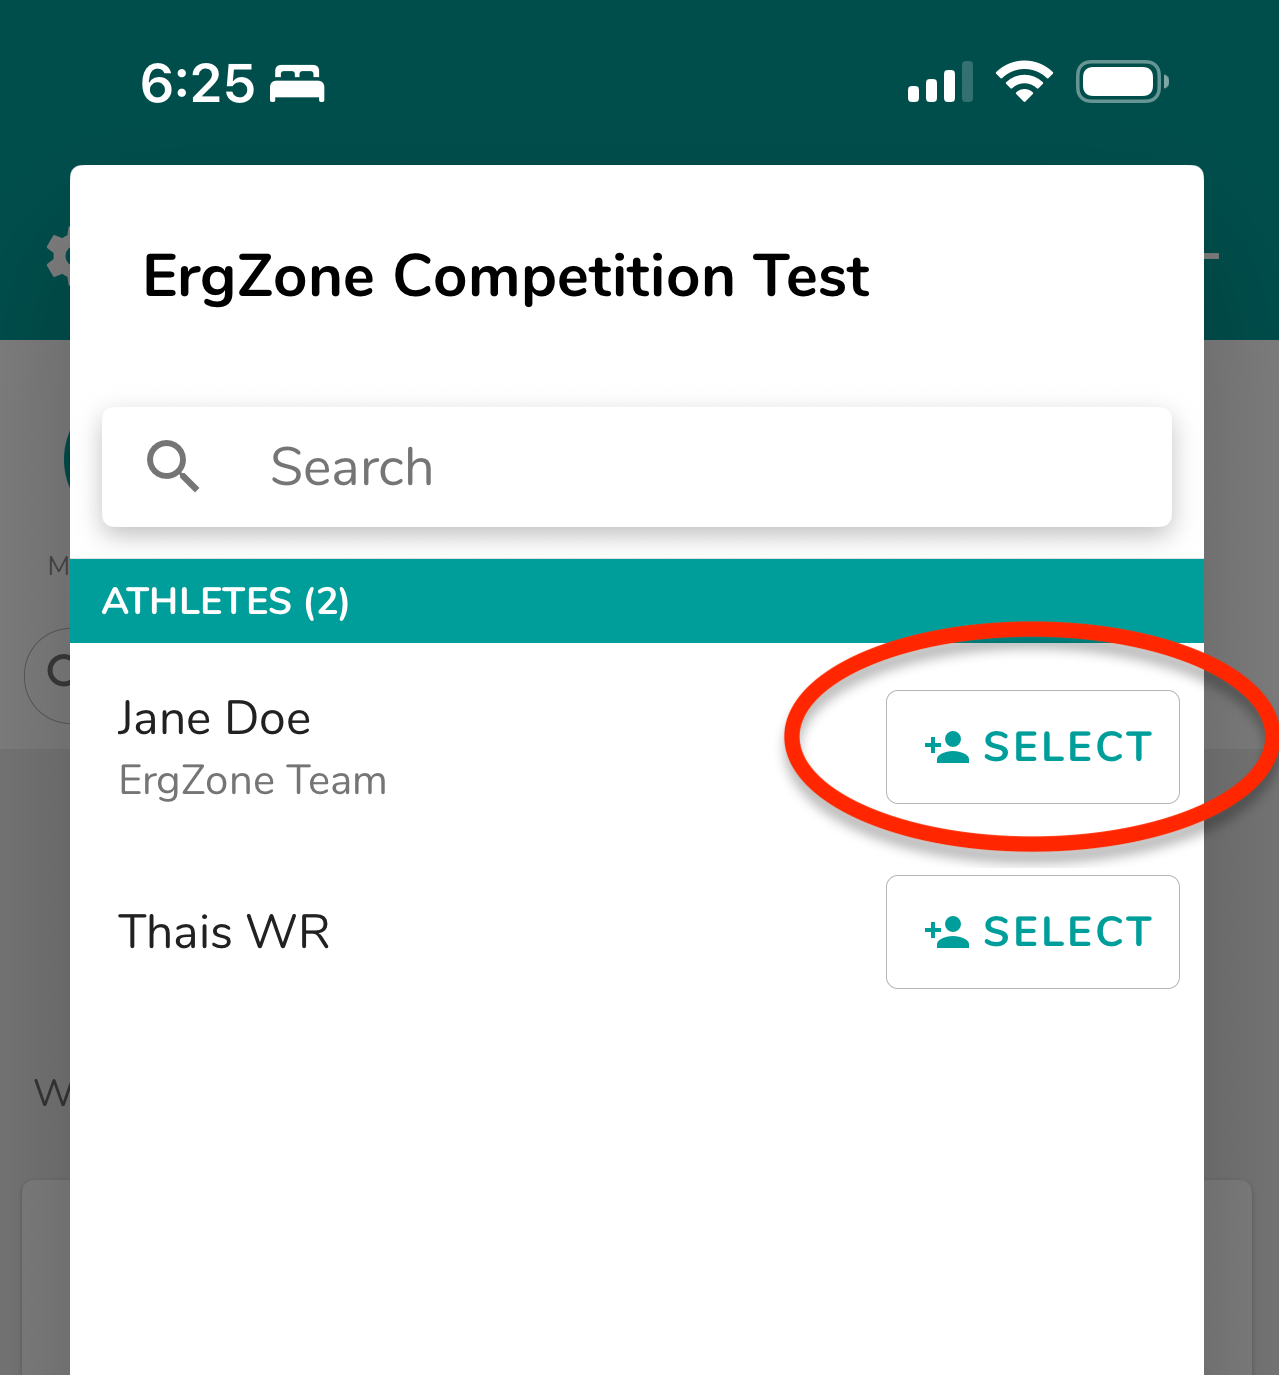
Find the Athlete
Use the search function or scroll through the list.
-
Tap the Select button next to the correct athlete’s name to select.
The app will now display User: <athlete’s name>.
-
Verify Selection
Staff needs to confirm the correct athlete is displayed before proceeding.